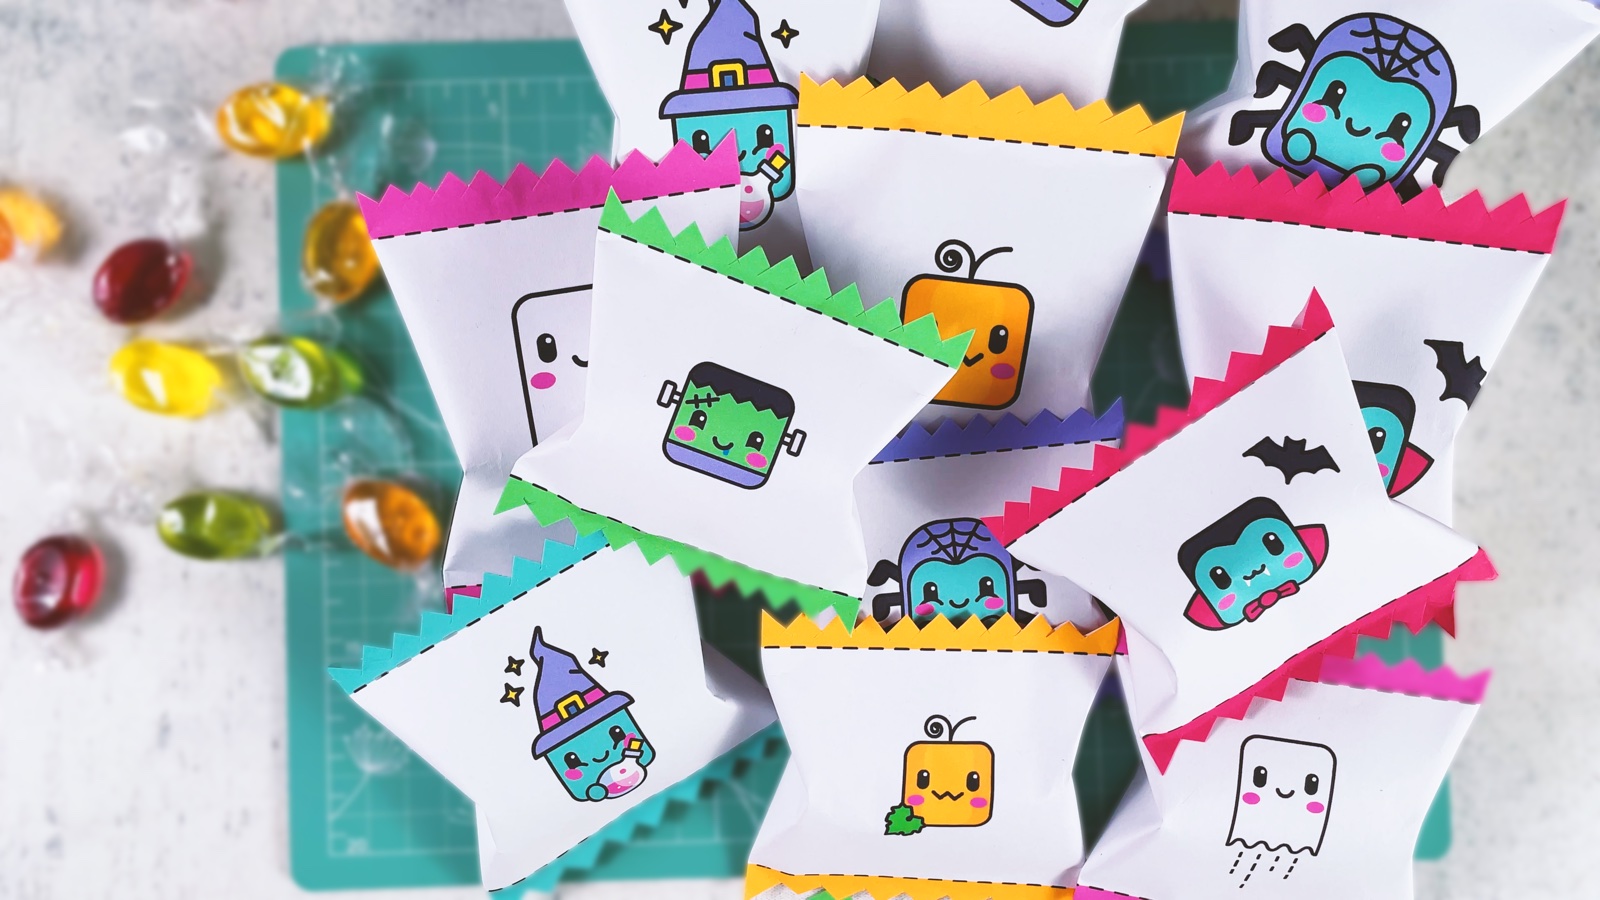
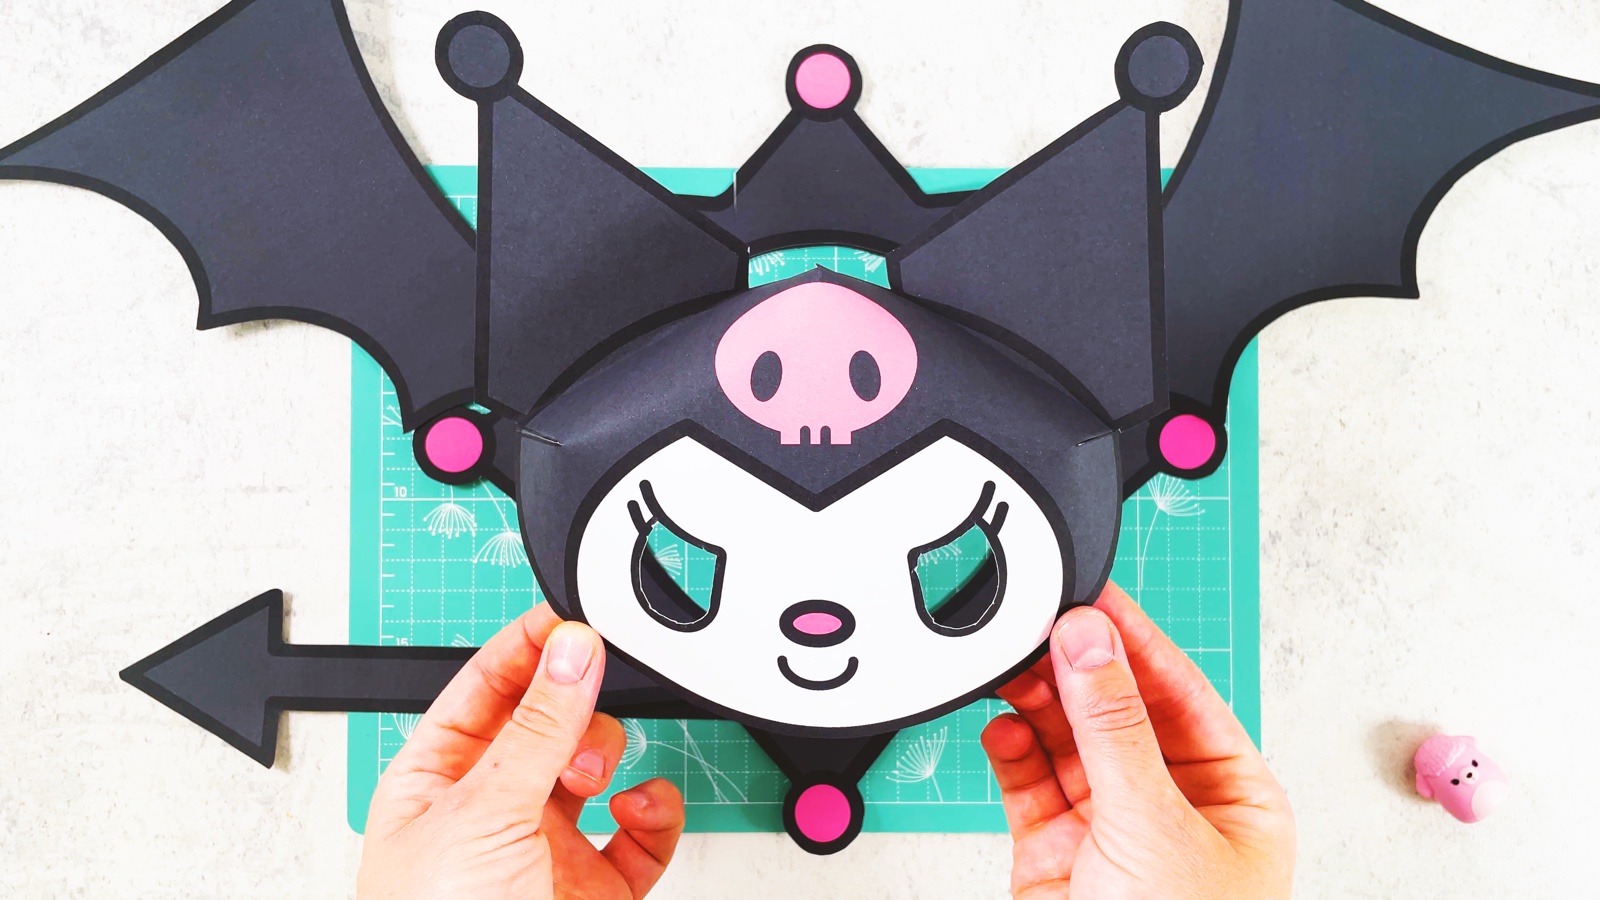
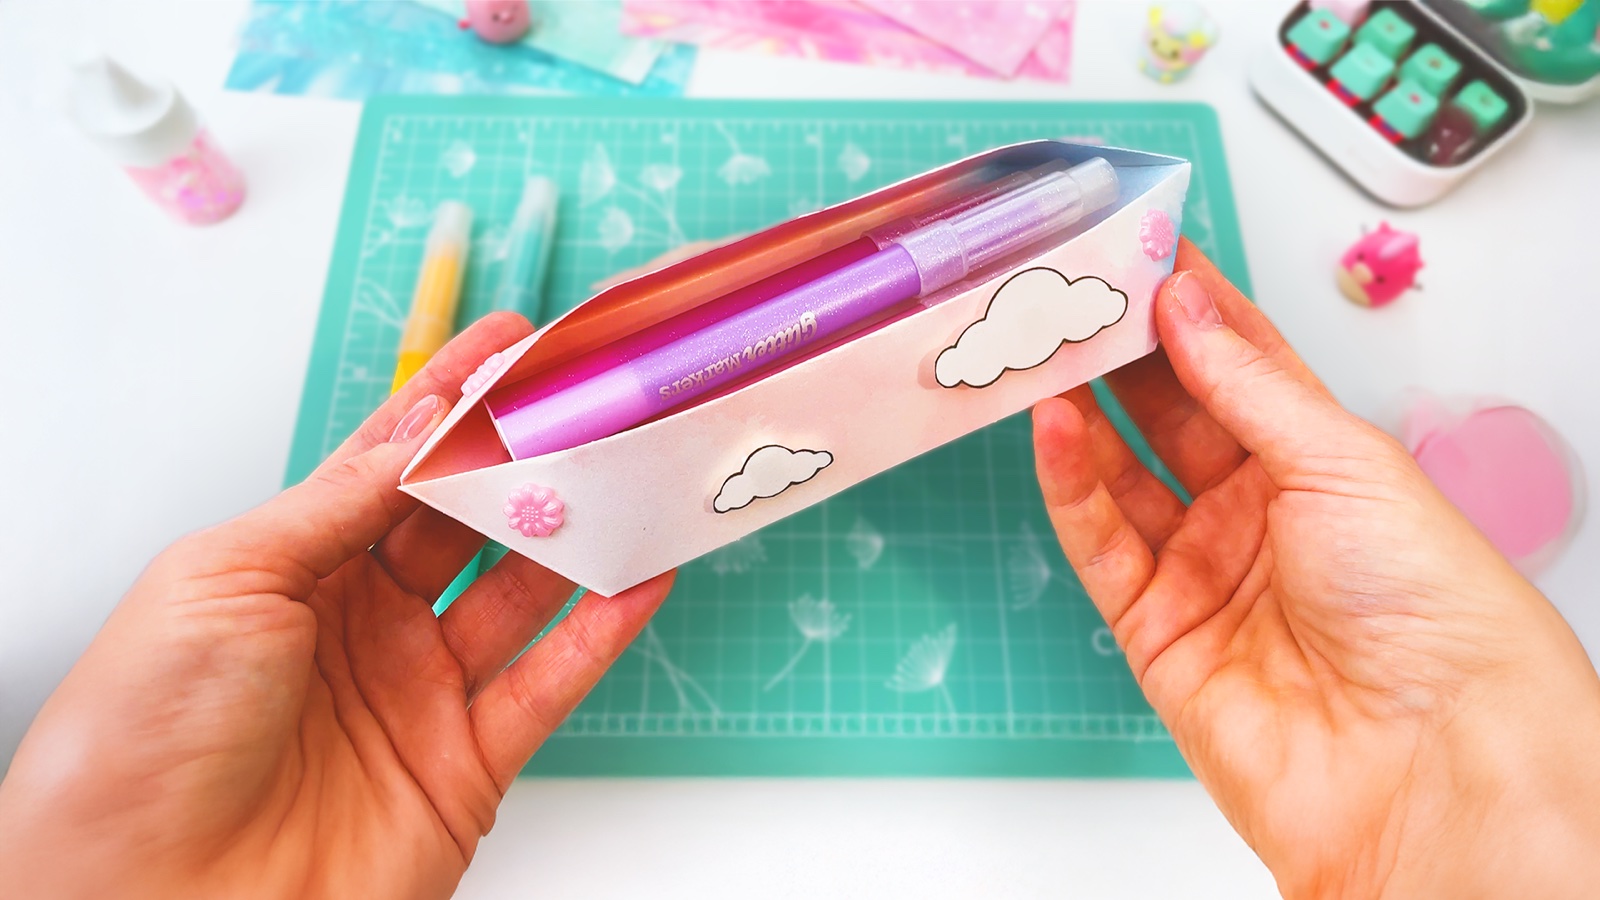
Let’s make a cozy Halloween paper wreath for your front door! Pumpkins, friendly ghosts, little bats, toadstools and lots of autumn leaves, all cut from coloured paper and layered on a simple ring. Hang it on your door and everyone who walks by will know: this home is ready for Halloween!
It’s a lovely project to make together. Kids love gluing the pumpkins and ghosts, and there are plenty of leaves to share around the table. It works for Halloween and fall decorations, a spooky front door, a classroom door or a cozy craft afternoon with the whole family.
BEFORE WE START
What you need.
Materials
- Printable template
- Coloured paper in 9 colours
- Card or cardboard for the ring
- Glue stick
Tools
- Scissors
- Hole punch
- A printer
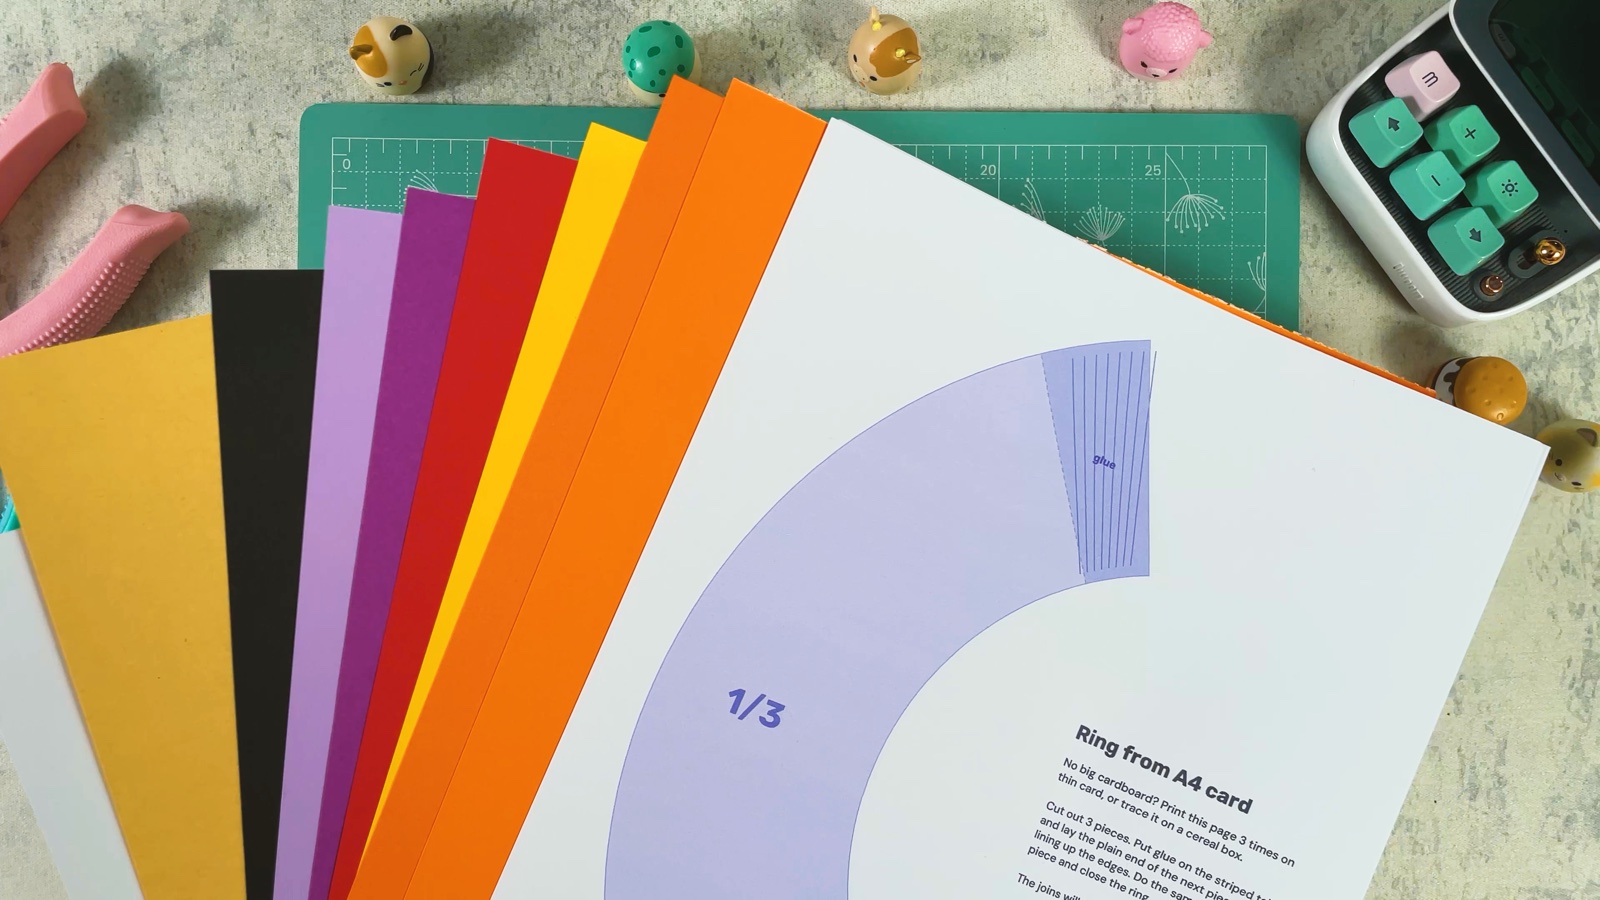
Page 1 is a colour map of the finished wreath and page 13 shows the layers in order, so you always know what goes where. Keep them next to you while you glue.
Get the free template ↓PART 1 OF 3
The ring
- 1
Print and cut the ring
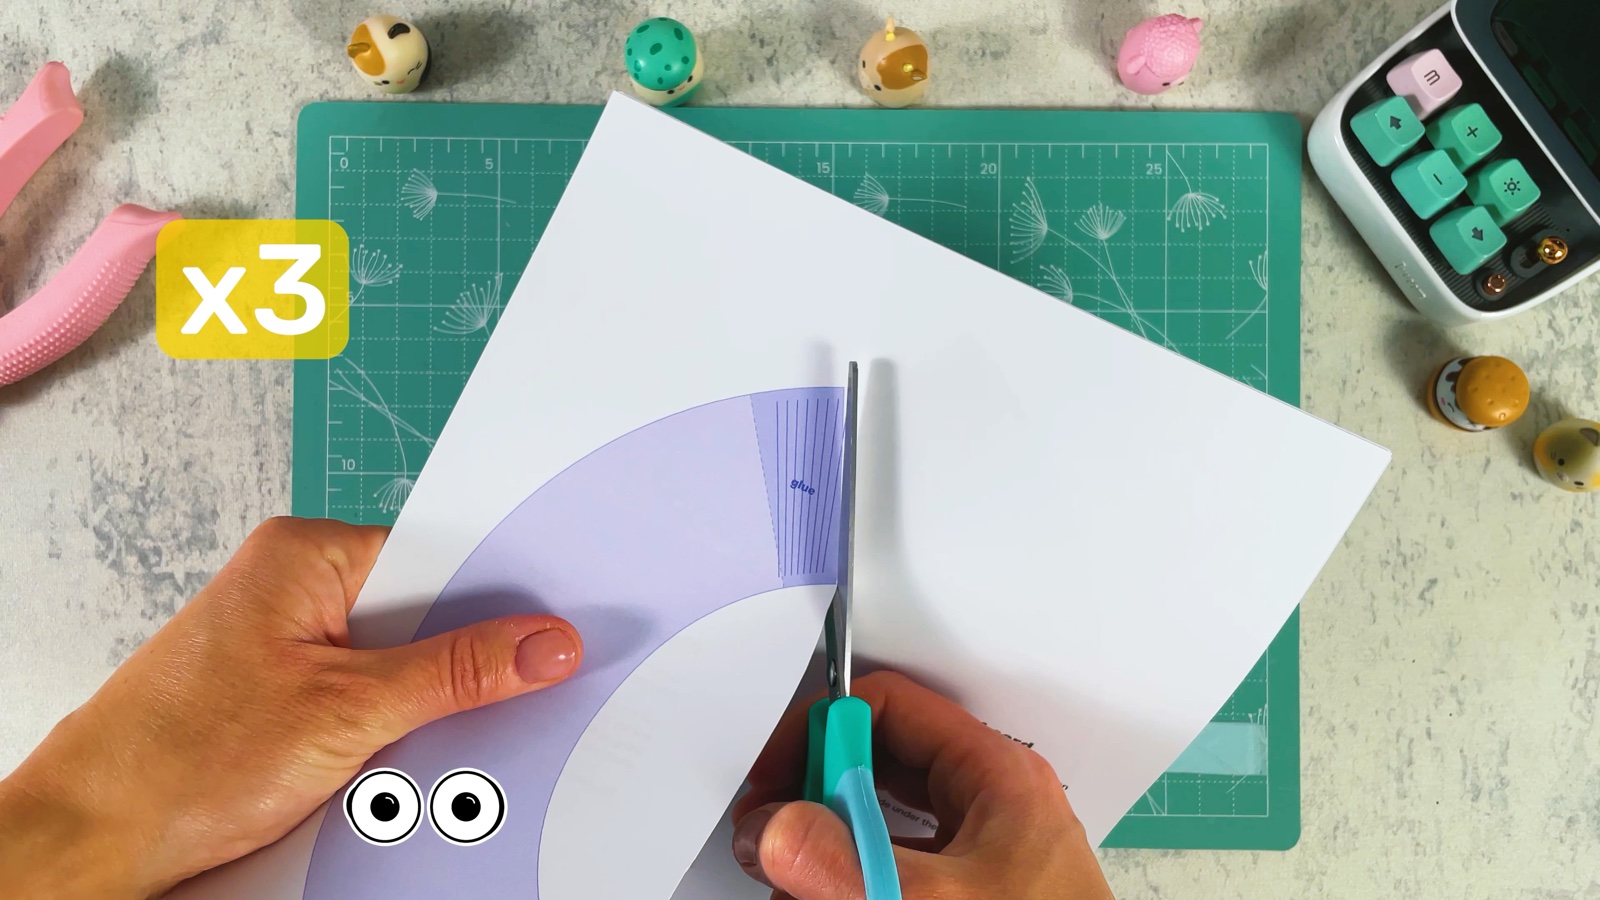
Print page 3 three times on card, 160–200 g/m² (about 60–75 lb cardstock), A4 or US Letter (choose “Fit to page”). Each page is one third of the ring. Cut out the three parts along the outline.
- 2
Glue the ring together
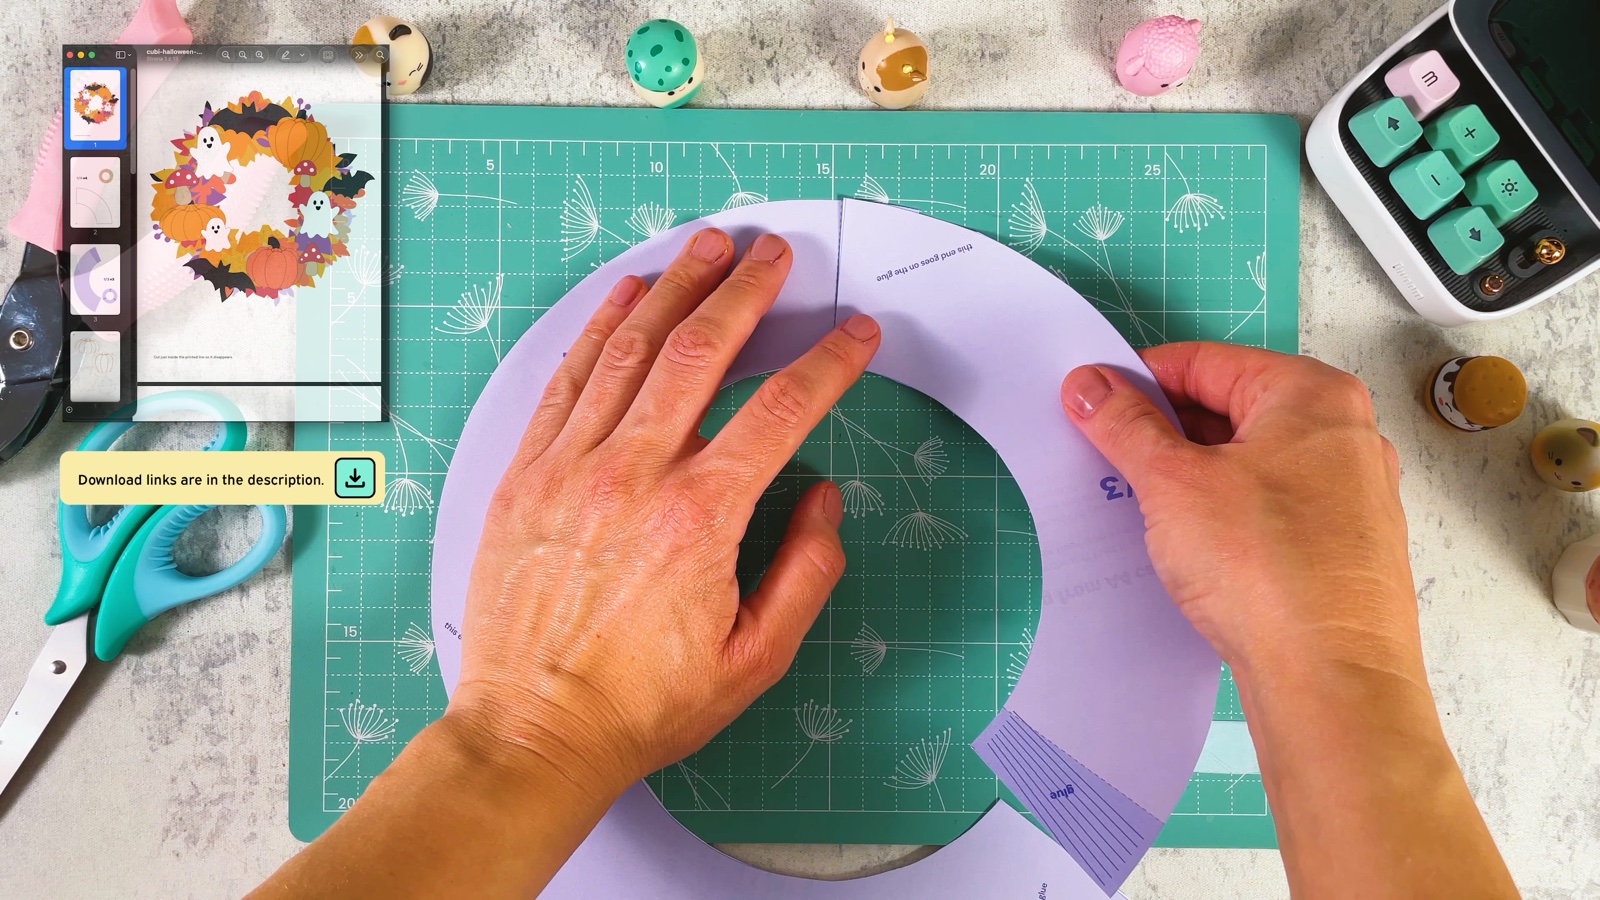
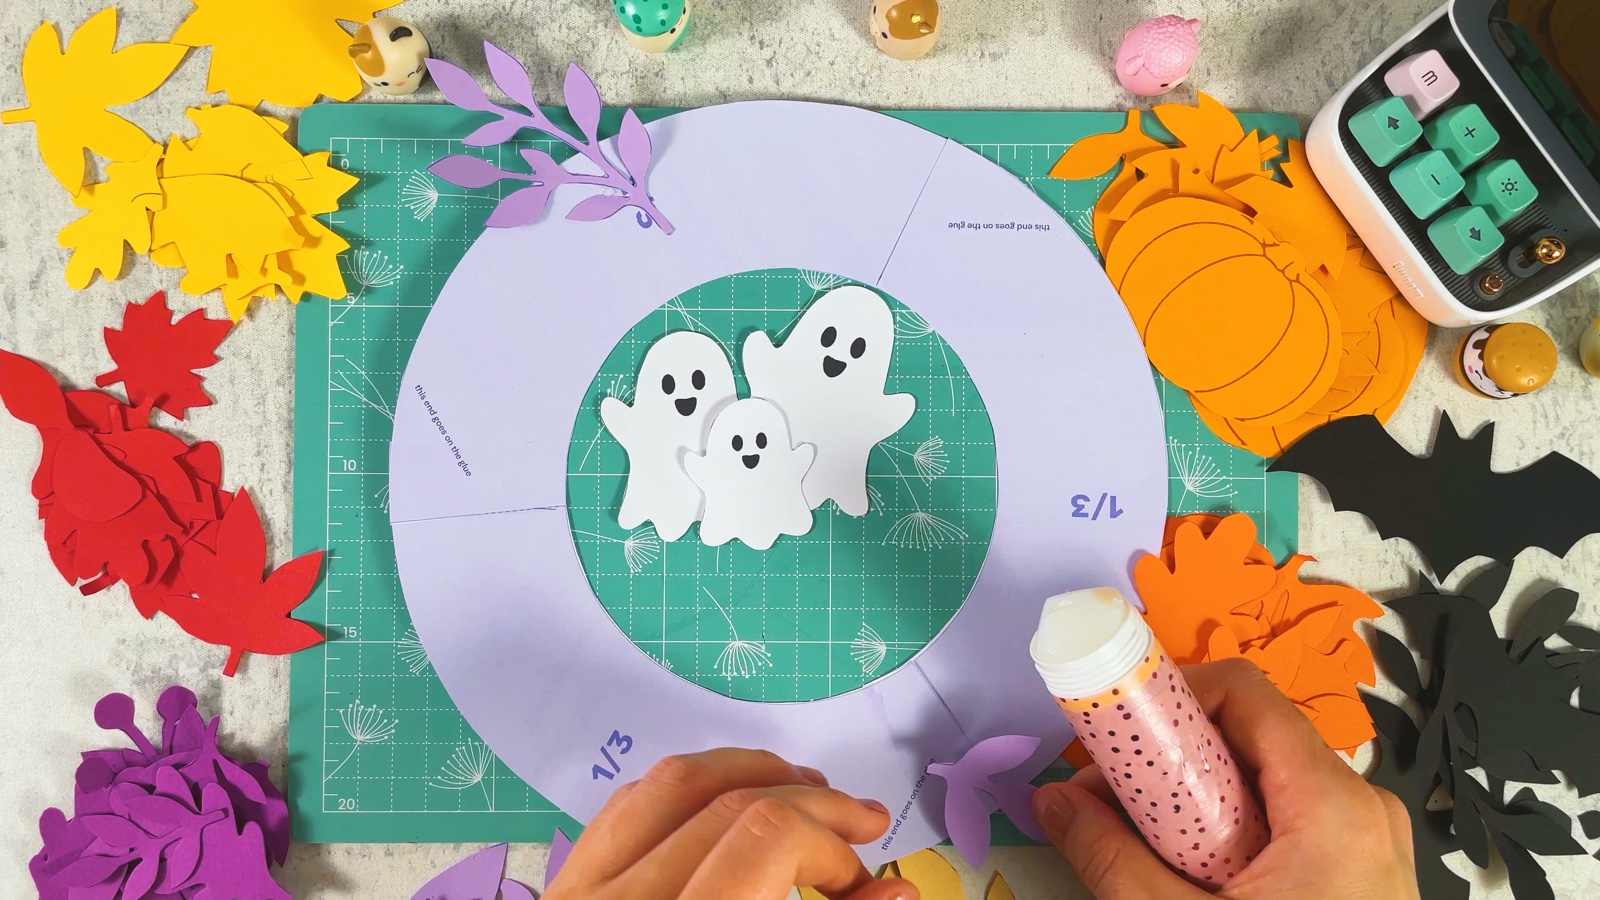
Each part has a striped end. Put glue on it and lay the next part on top, on the end that says “this end goes on the glue”. Press for a few seconds.
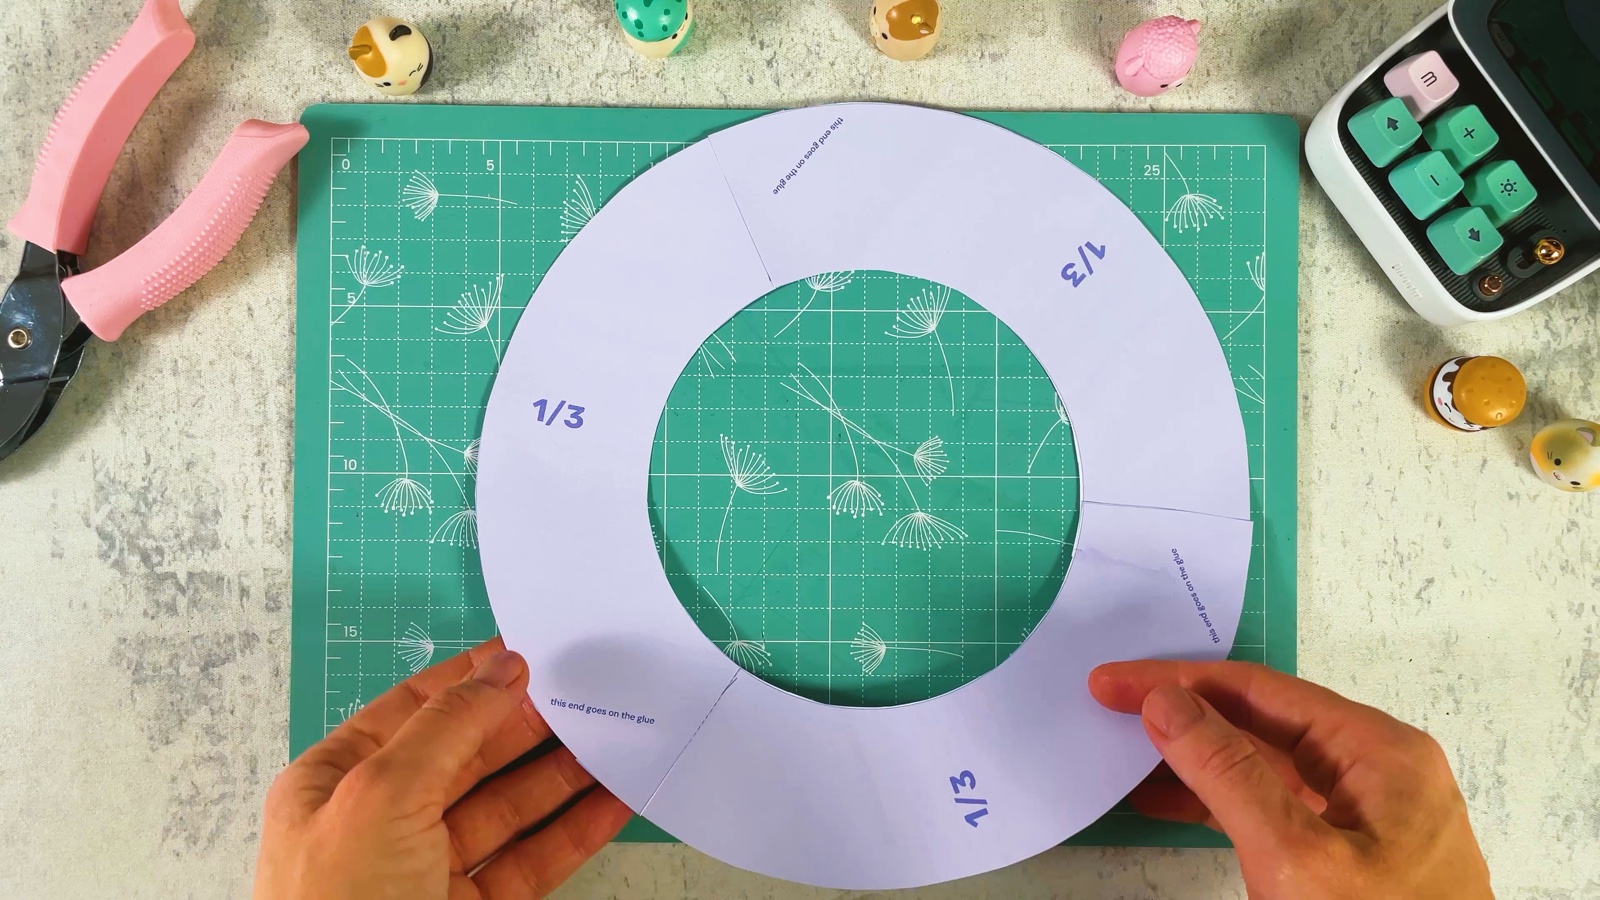
Glue the third part the same way to close the circle. Have a big piece of cardboard instead? Trace page 2 four times on it and cut out one whole ring.
PART 2 OF 3
The leaves
- 3
Print and cut the shapes
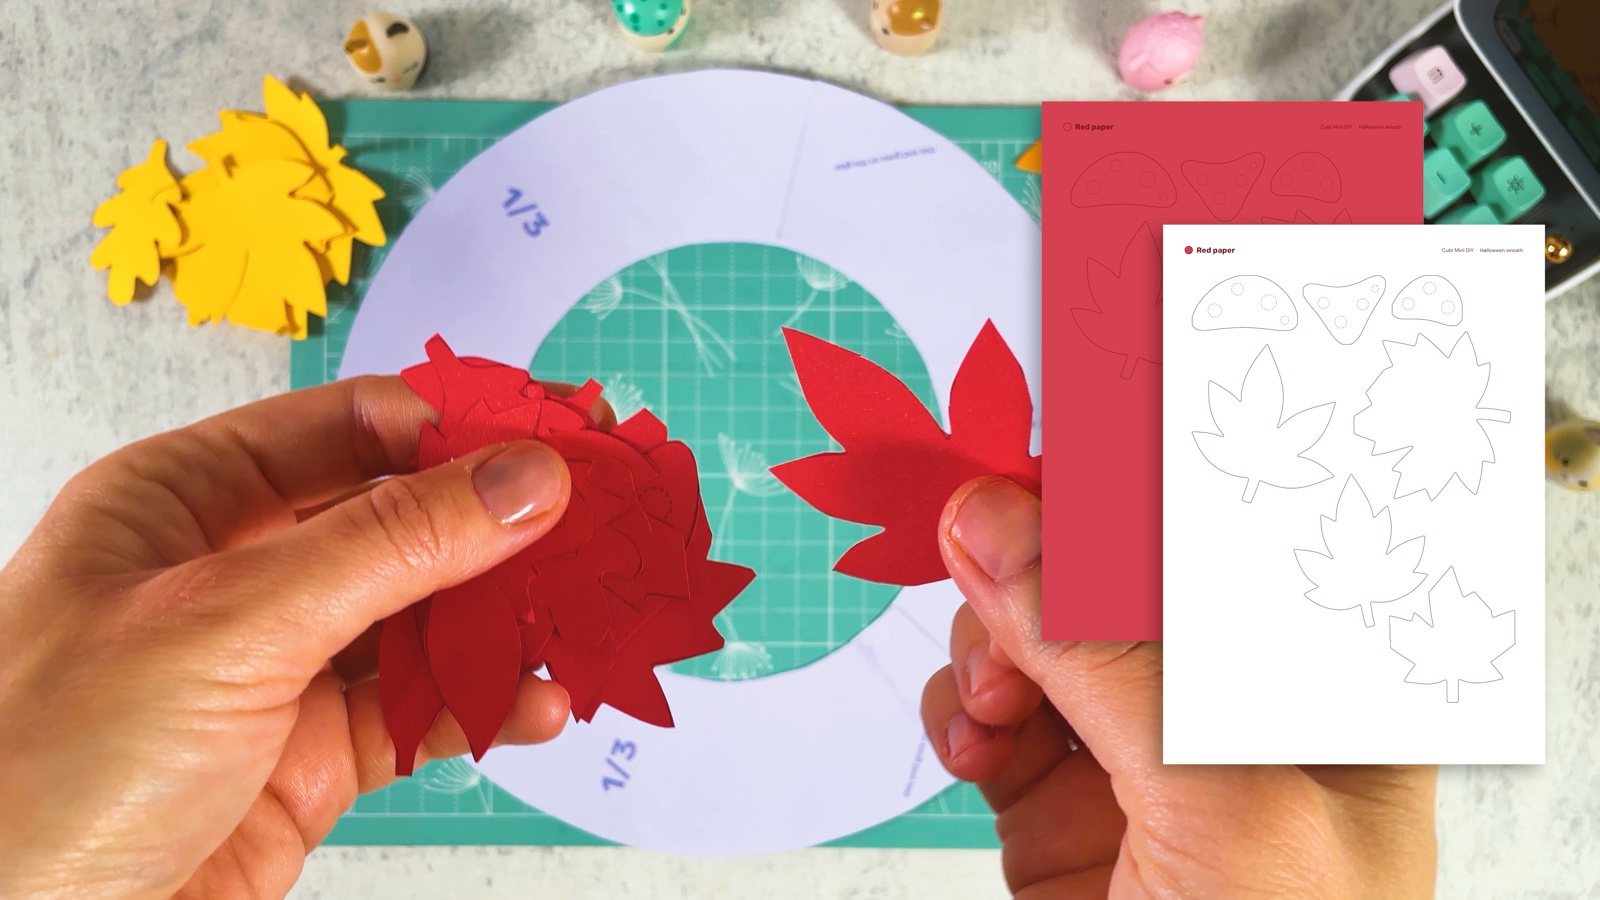
Print each page on the paper colour shown by the dot in its corner. Coloured paper of about 120 g/m² (about 80 lb text) holds its shape well. Cut just inside the printed line so it disappears. No coloured paper? Print the version for plain paper.
- 4
Start with the lavender leaves
Glue the lavender leaves around the outer edge of the ring, pointing outwards. This is the bottom layer, so later only their tips will peek out.
- 5
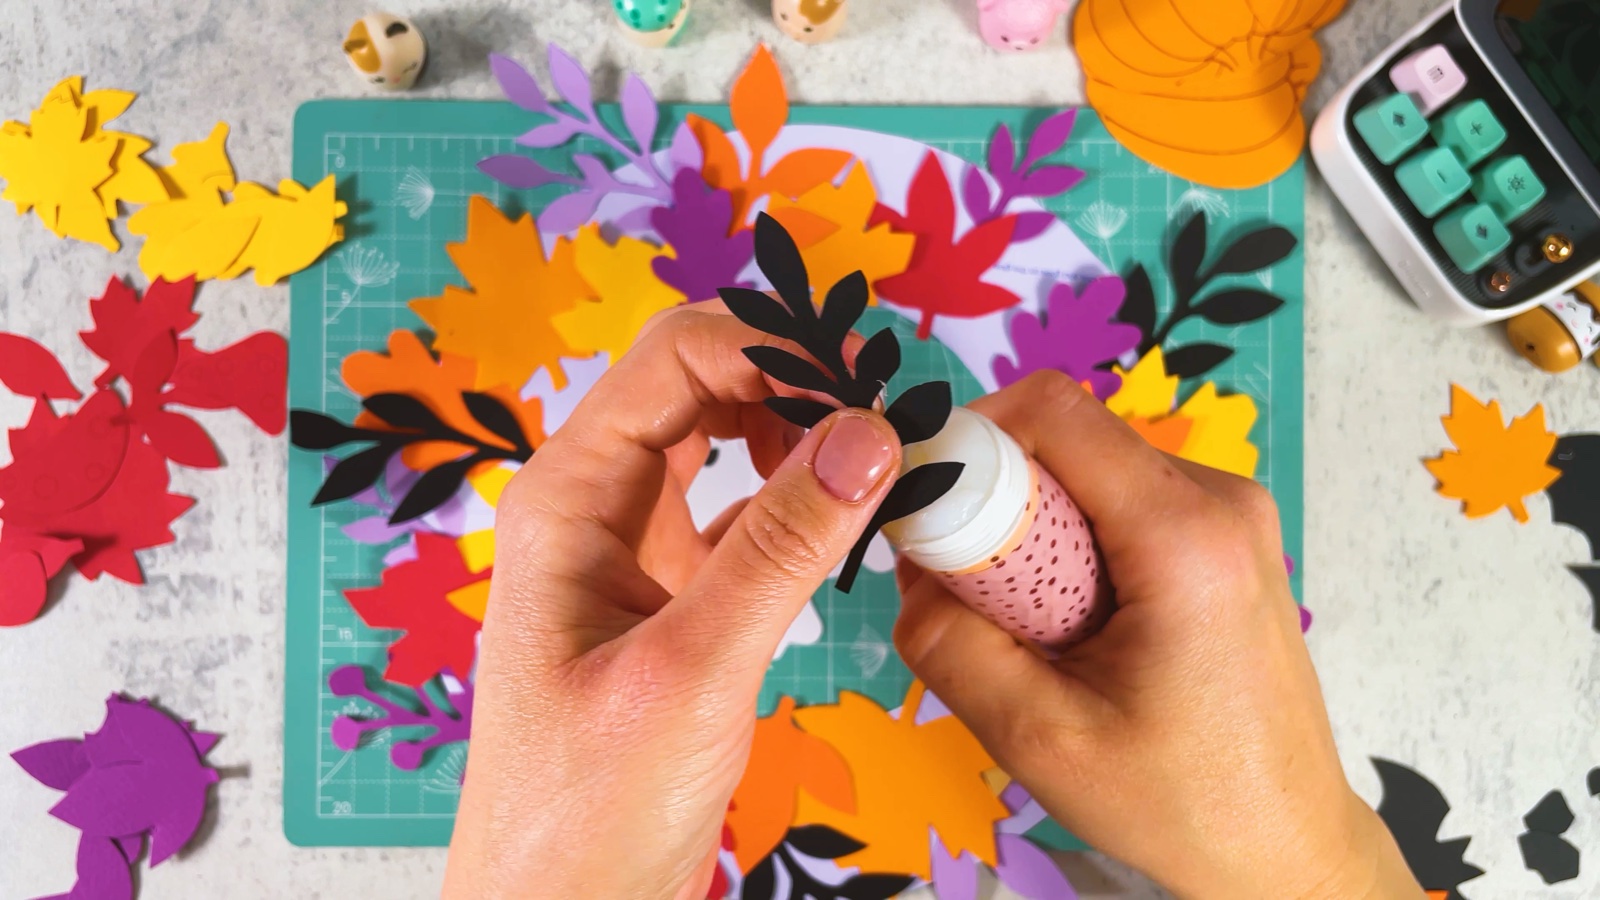
Add the black branches
Add the black branches and the purple berries between the lavender leaves, also pointing outwards.
- 6
Fill the ring with leaves
Now glue the orange, coral, yellow, red and purple leaves all around the ring. Mix the colours and let the leaves overlap.
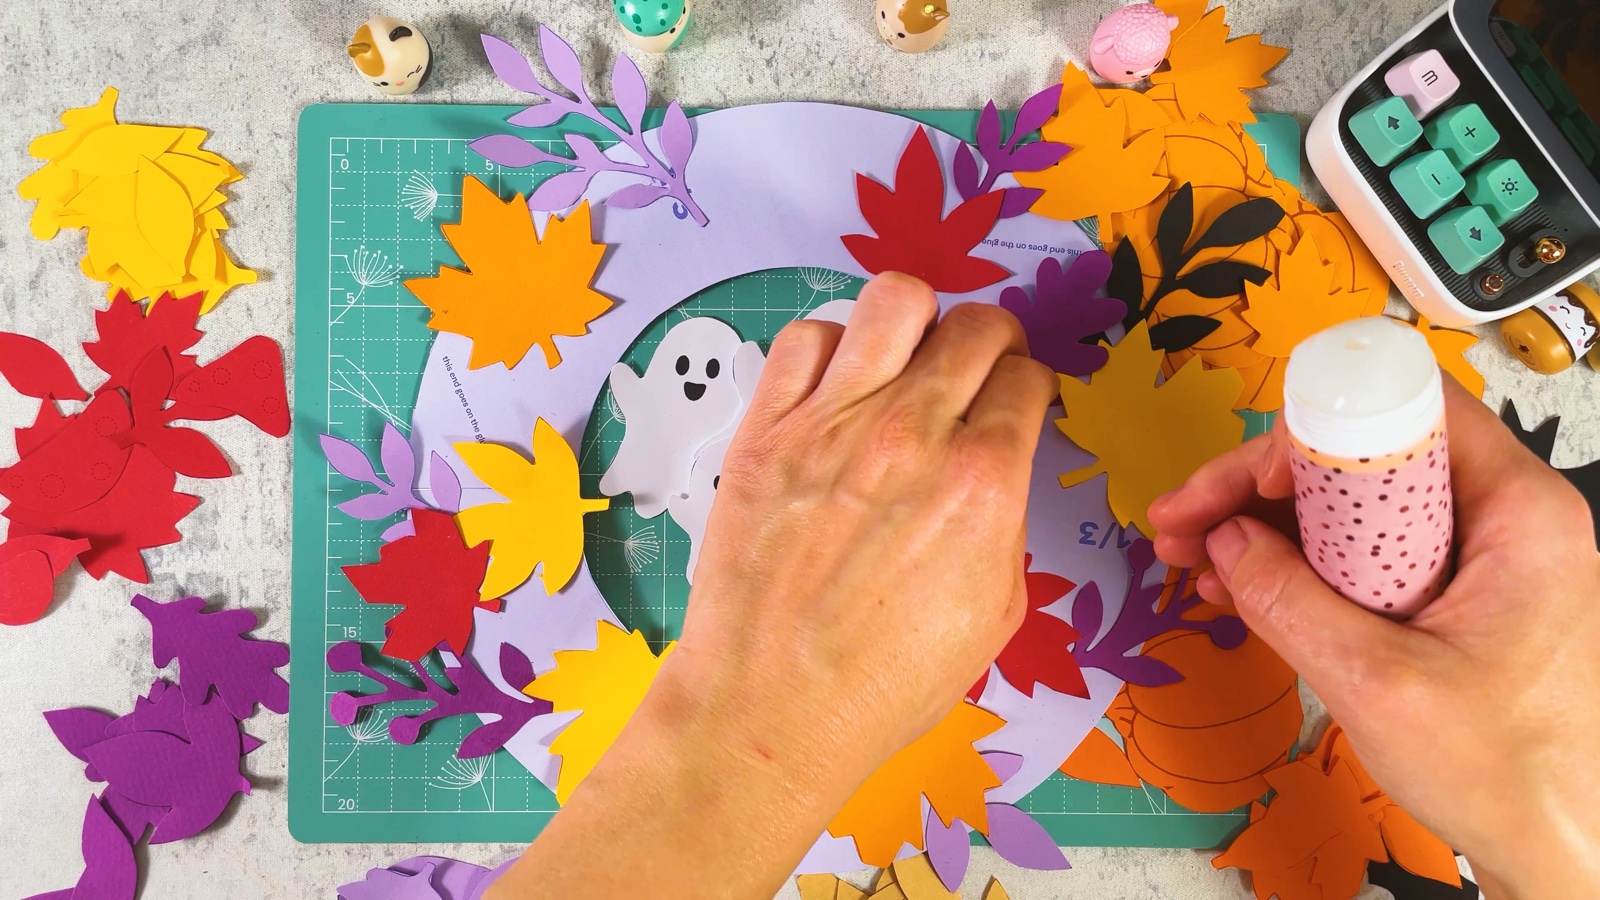
Add a second layer on top until the ring doesn’t show through any more.
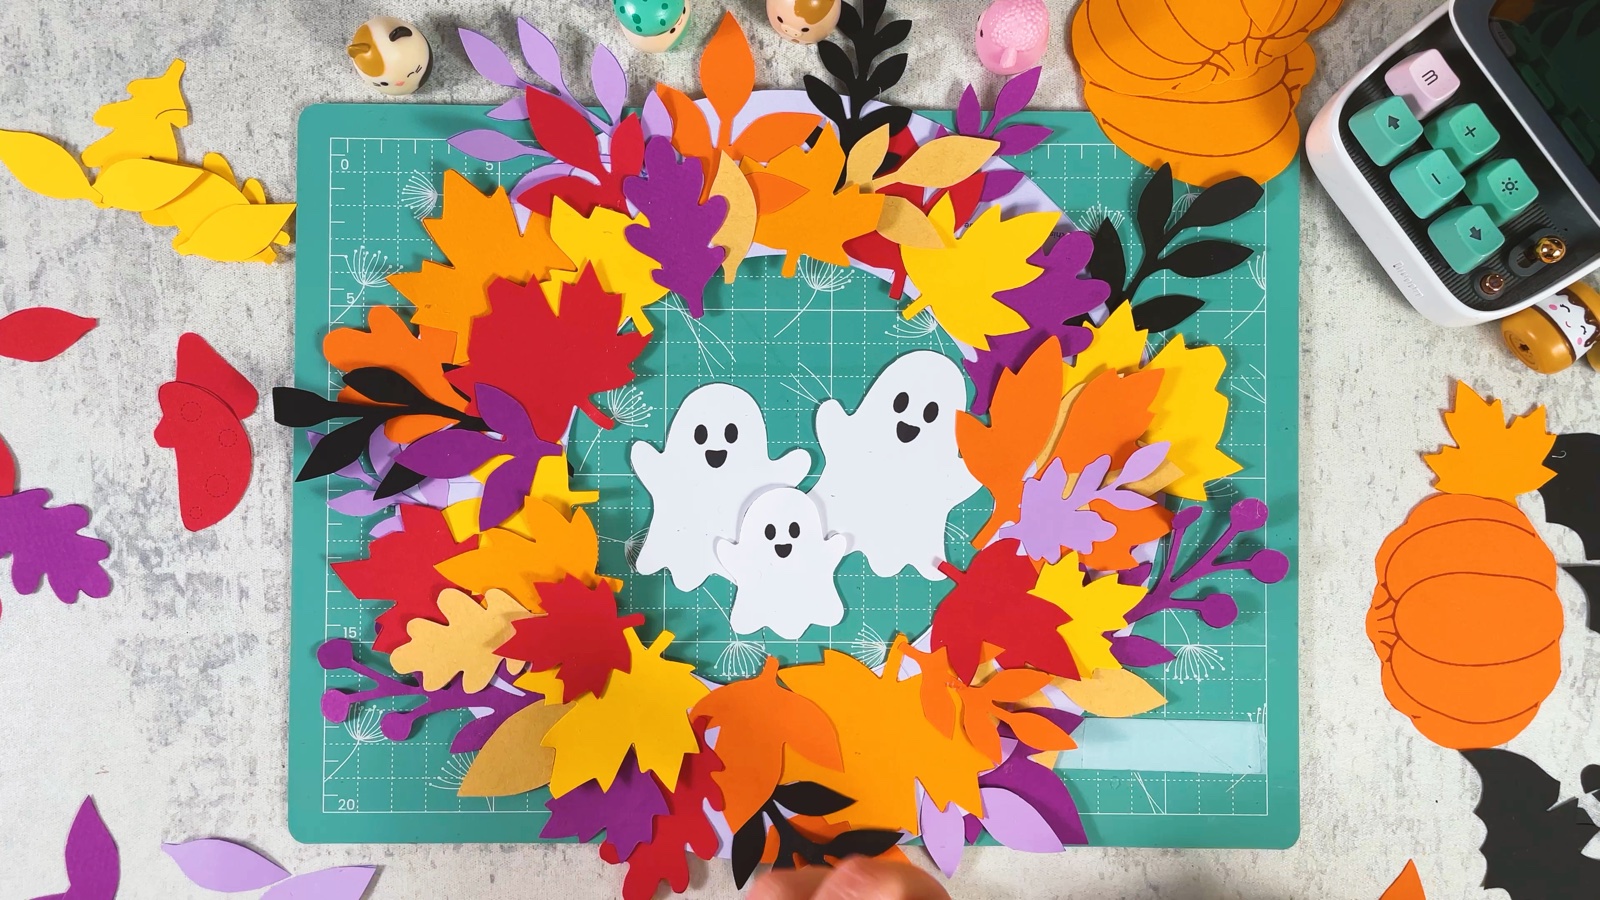
The leafy ring is ready.
PART 3 OF 3
Pumpkins, ghosts and friends
- 7
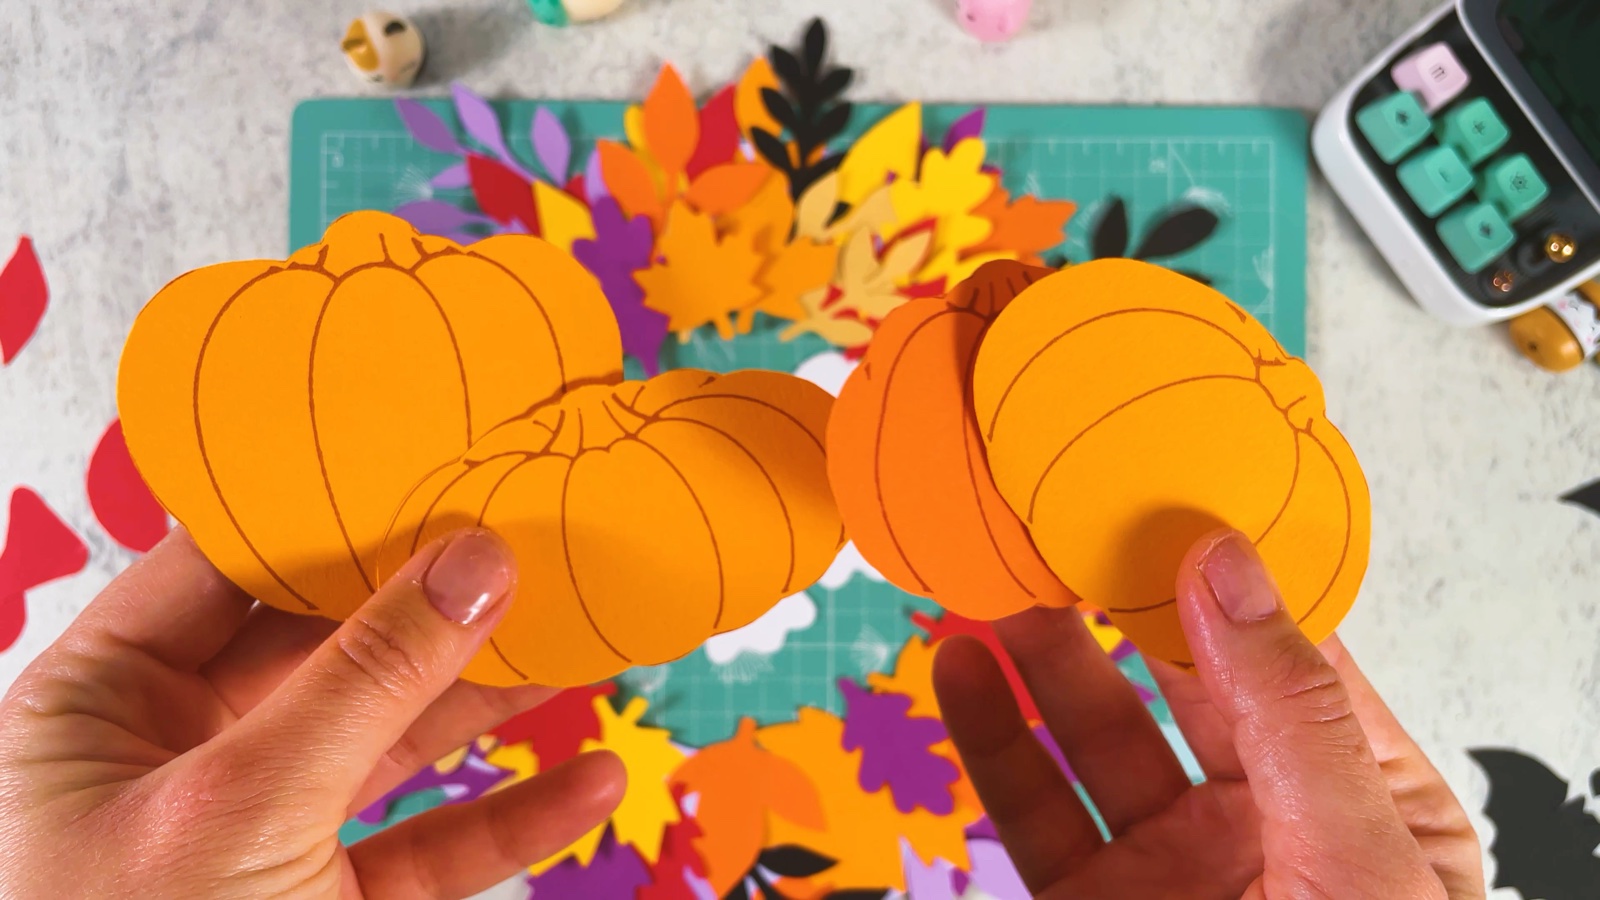
Add the pumpkins
Glue all the pumpkins on top of the leaves, spaced out around the ring. The colour map on page 1 shows where they go.
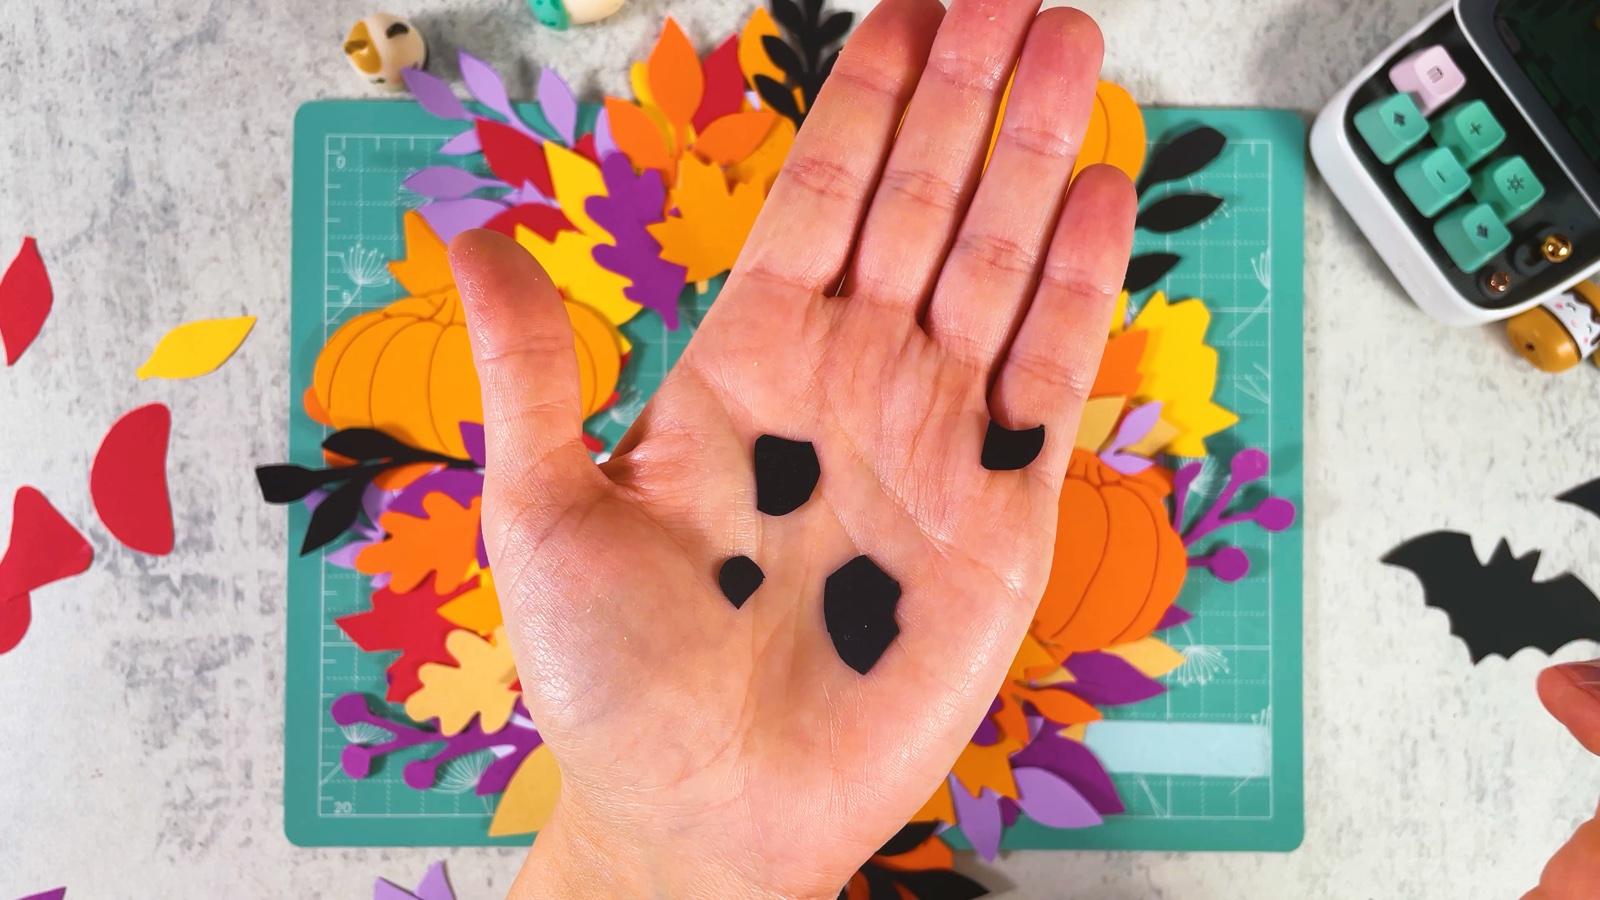
Glue a small black stem on top of each pumpkin.
- 8
Add the ghosts
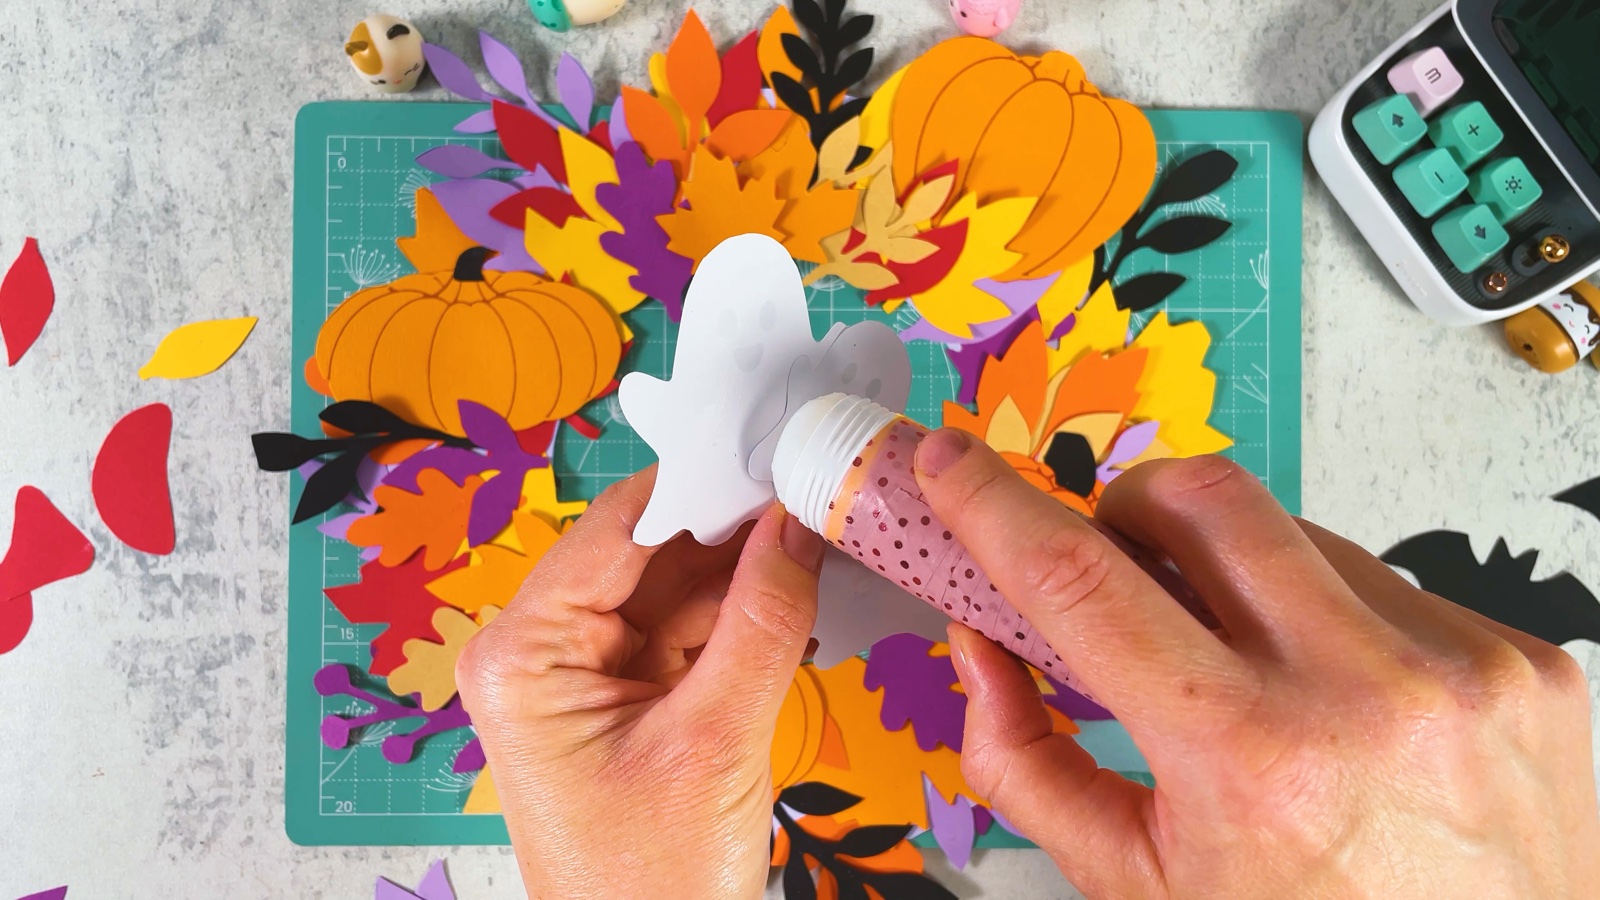
Put glue on the back of each ghost.
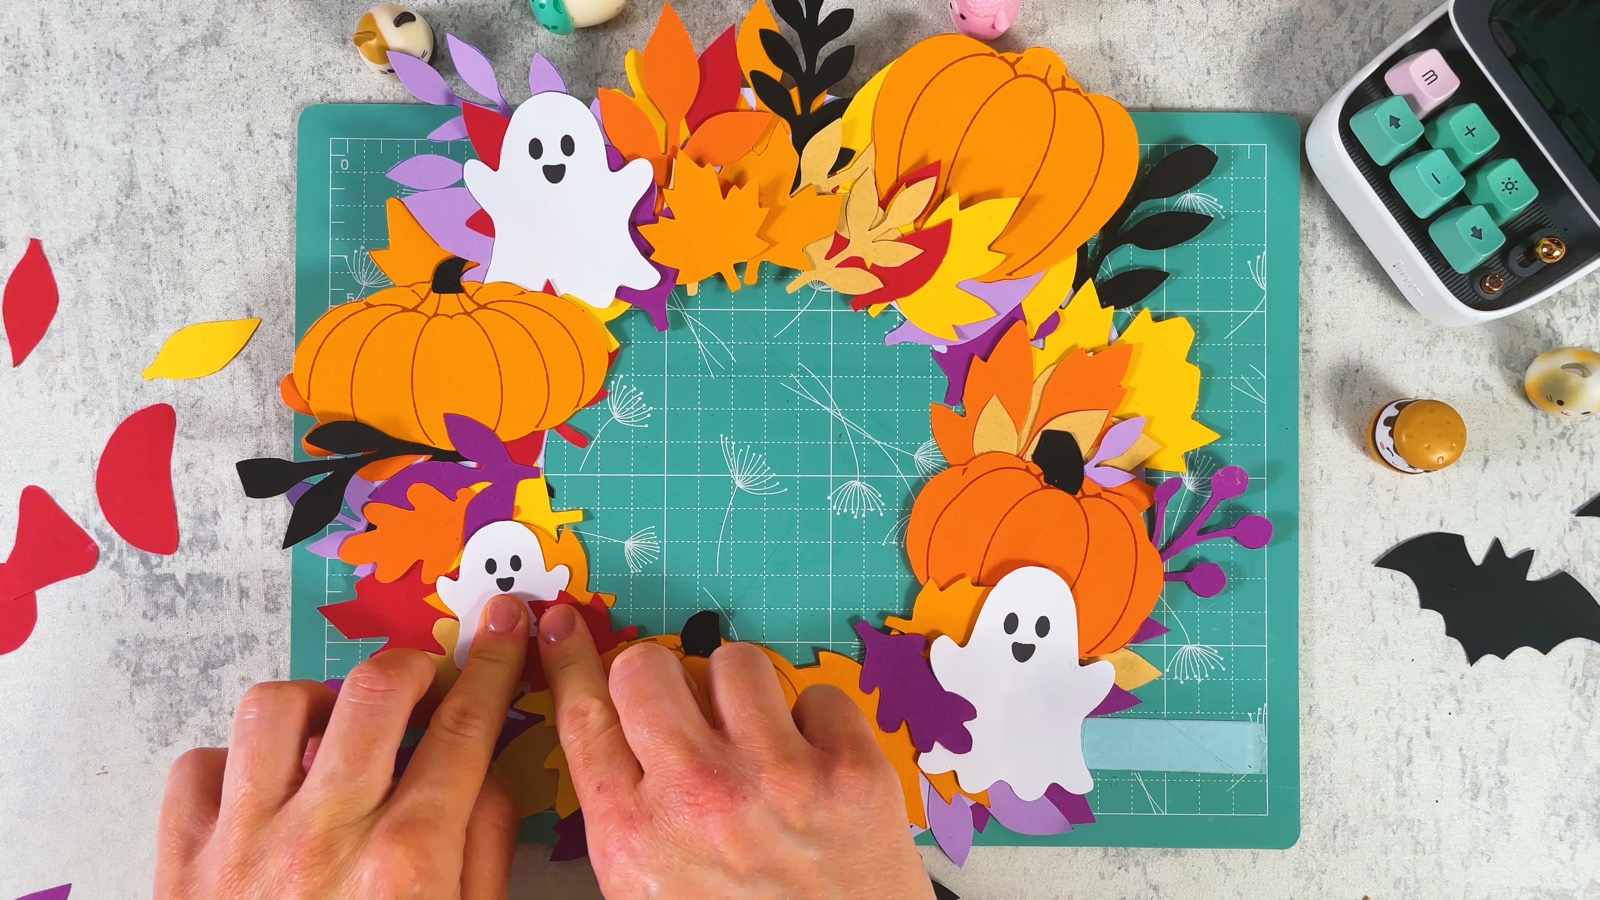
Press the ghosts onto the wreath, between the pumpkins.
- 9
Add the bats
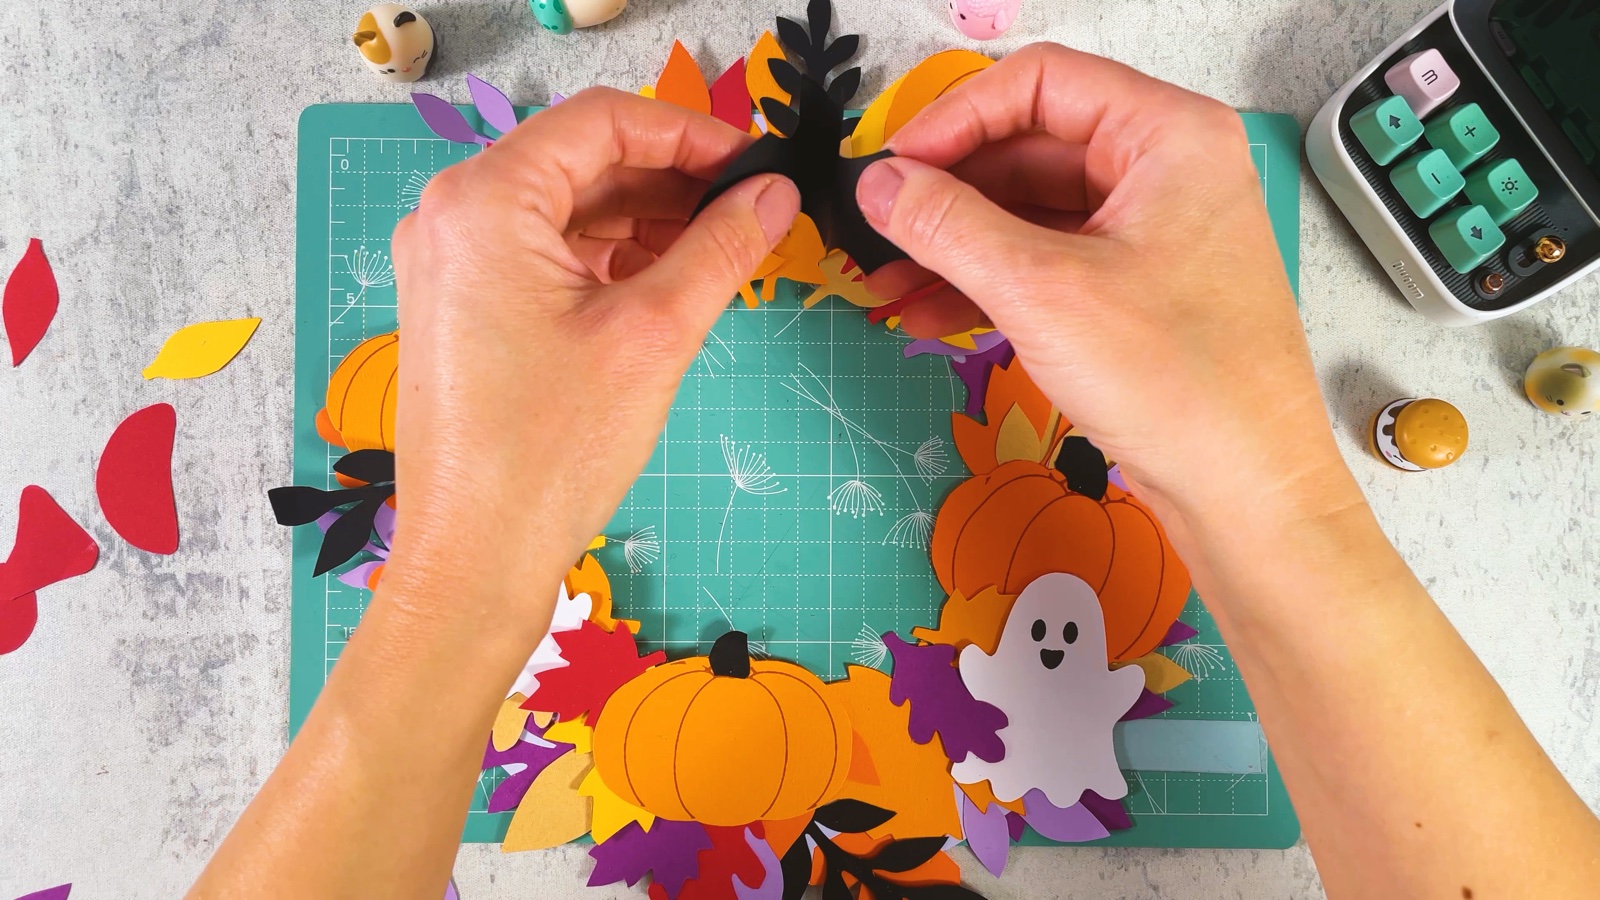
Glue all the black bats around the ring, with their wings spread over the leaves.
- 10
Make the toadstools
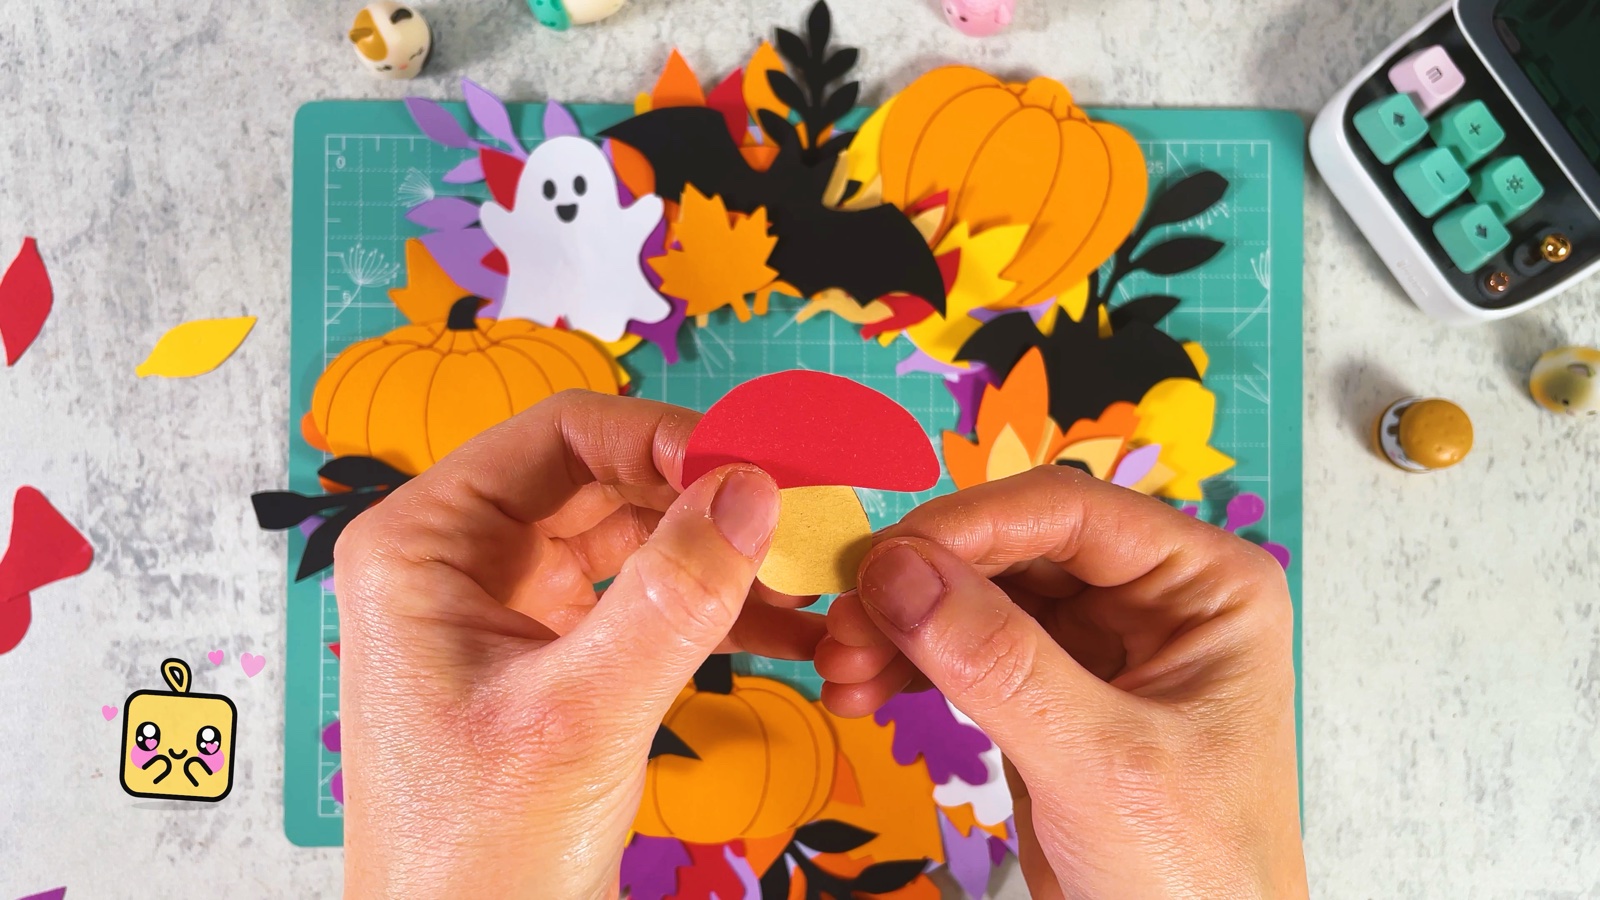
Glue a red cap onto each beige stem.
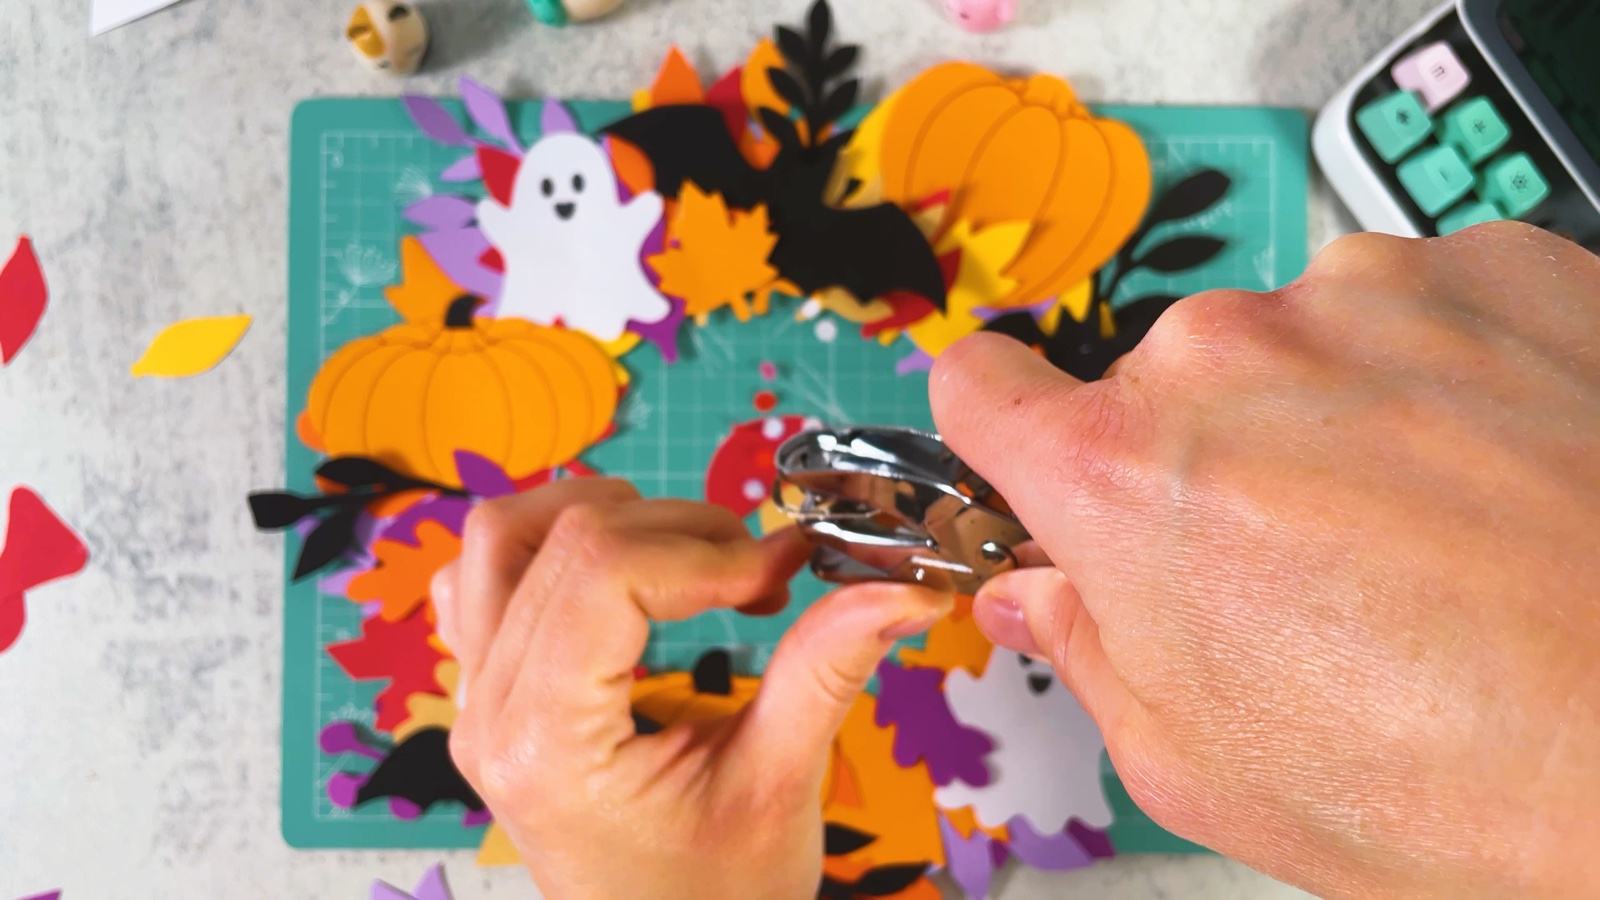
Cut out the white dots from the white page, or punch them out of white paper with a hole punch.
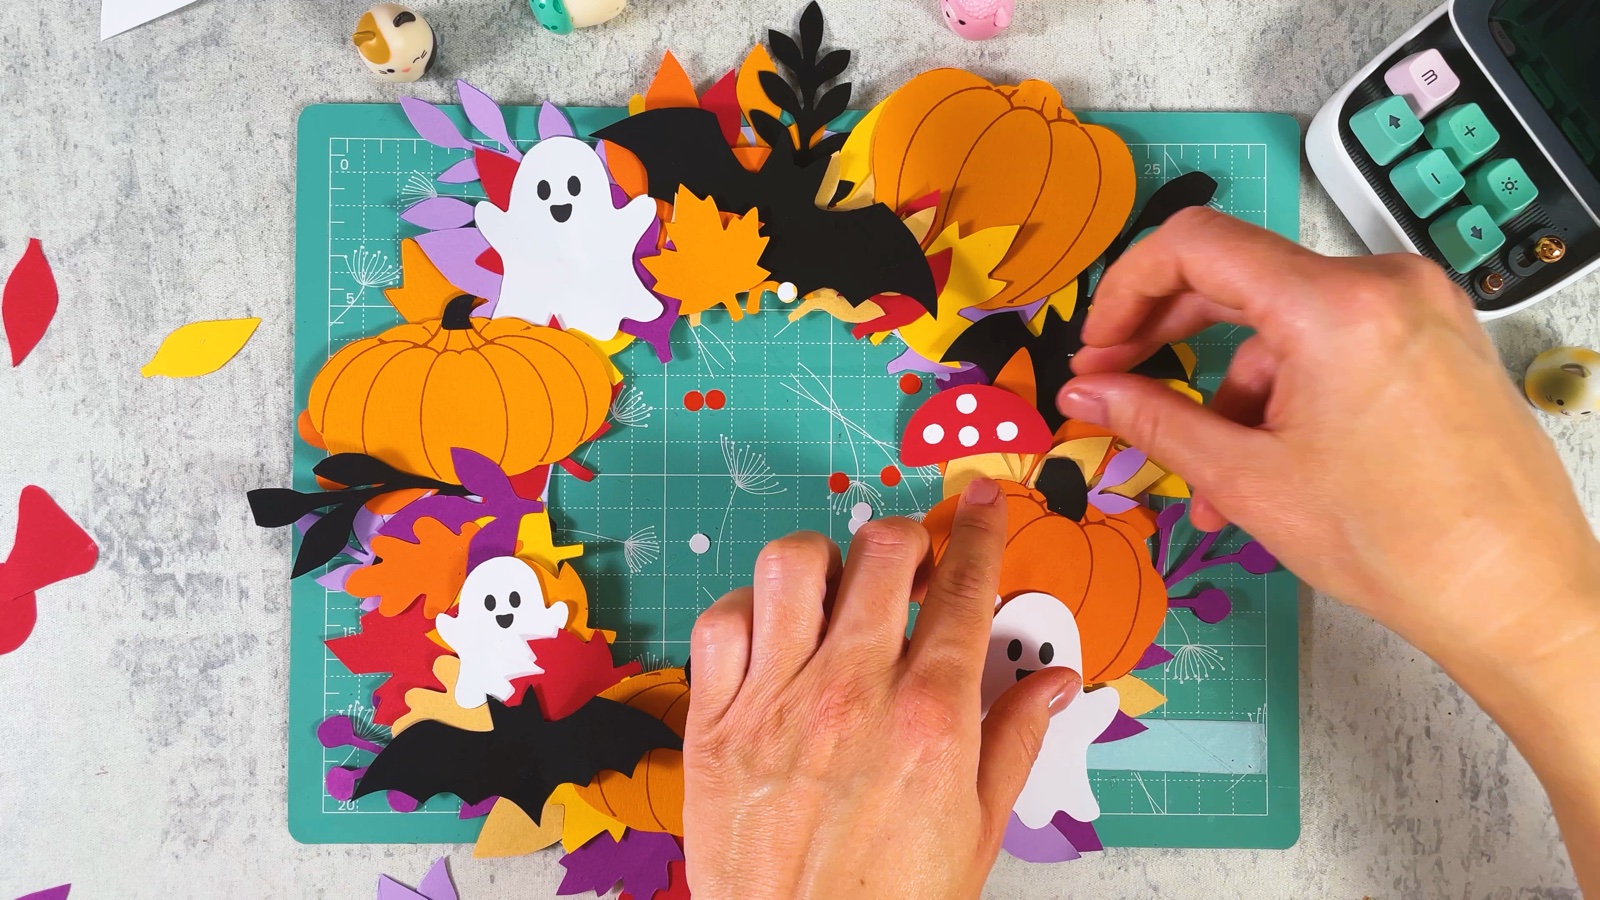
Glue the toadstools onto the wreath and stick the white dots on their red caps.
- 11
Let it dry
Press down any loose edges and let the glue dry. Now the wreath is ready for your door.
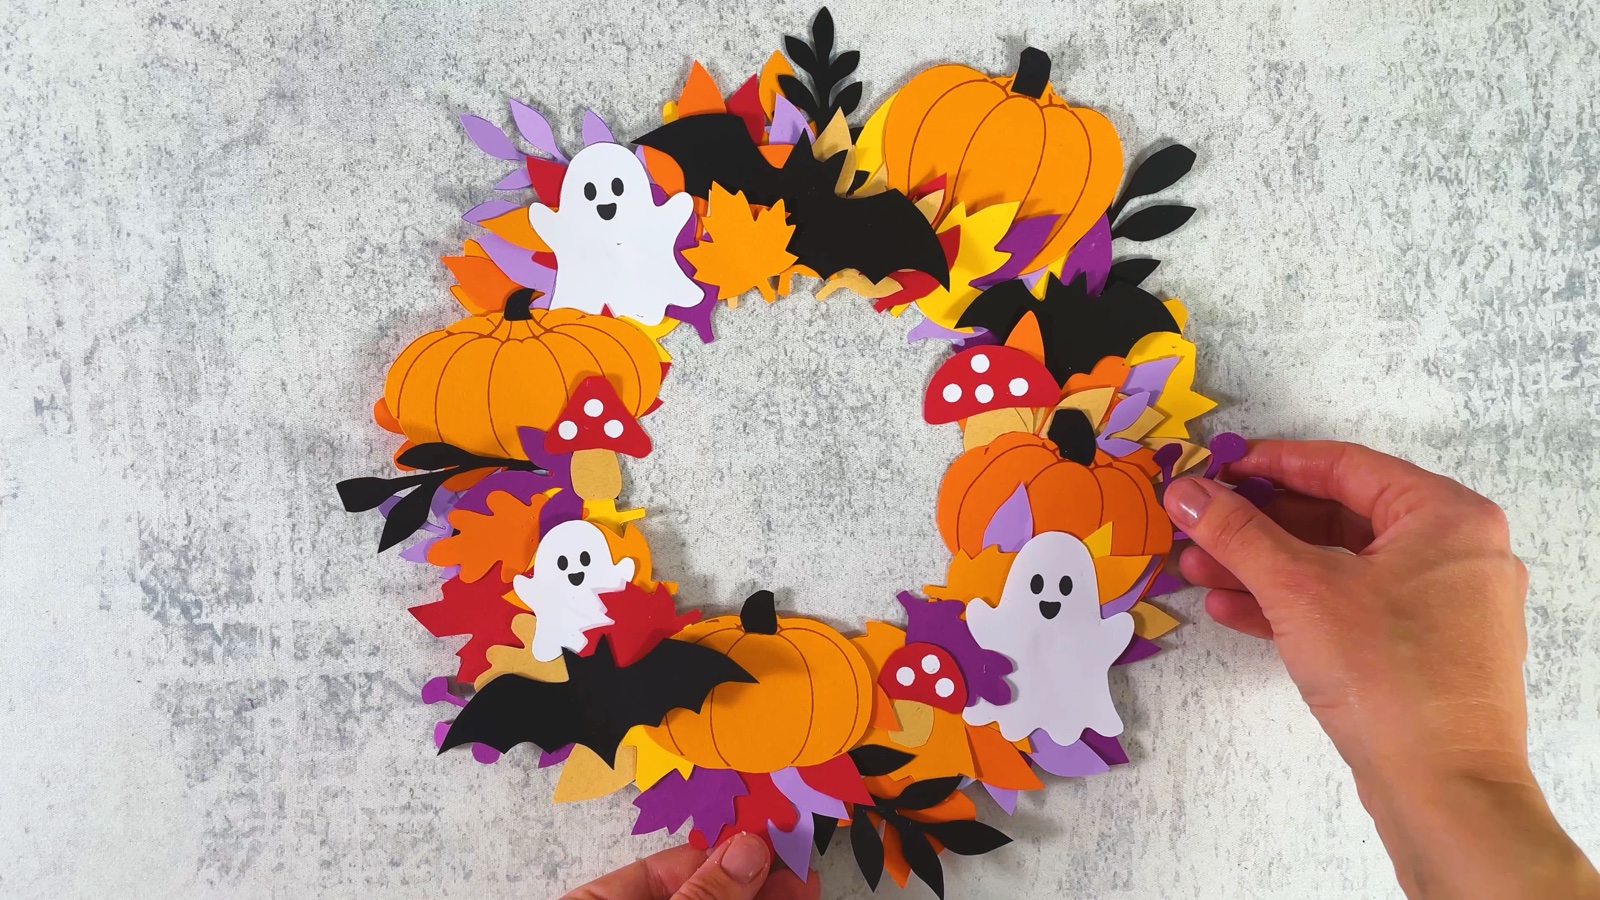
Your Halloween wreath is ready.
TWO LITTLE TIPS
Make it easier.
- Use a glue stick, not liquid glue. Liquid glue makes thin paper wavy.
- Keep the colour map close. Page 1 shows where every pumpkin, ghost and bat goes, and page 13 shows the layers in order.

A CUBI MINI MOMENT
Who will spot your wreath first?
Cubi is hiding one extra tiny ghost in the wreath, just for Mini to find. What will you hide in yours?
A tiny bat under a leaf, with only its little wings peeking out.
Loved making it?
Catch the next make first, or save this one for a rainy day.